Triumph Speedmaster 1200 Tail Tidy Kit & Installation Guide
- James
- Oct 9, 2020
- 3 min read

Updated: Dec 24, 2025

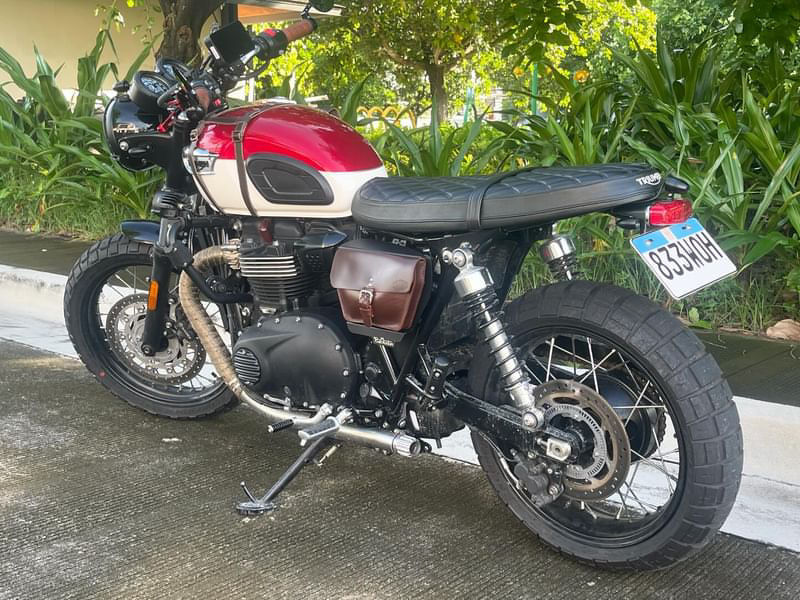
The Speedmaster 1200 has a lot of unnecessary clutter hanging from the fender to attach just a license plate and its elaborate illumination ? Hmmm. Well it is kind of a chopper. You have to start somewhere.
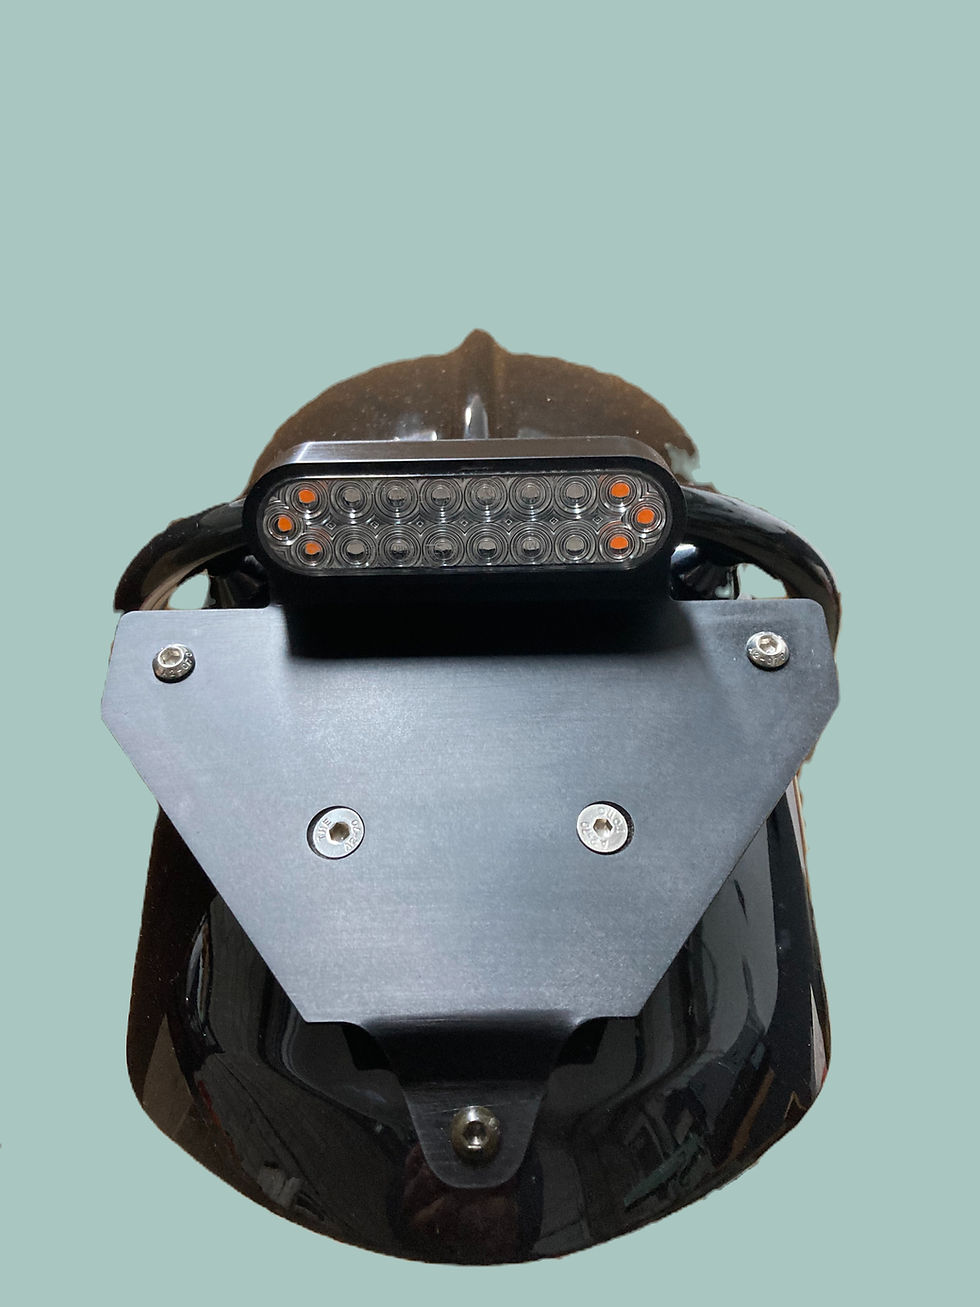
Cast in aluminum with a slimmer and less bulbous profile than the stock lamp. The tail tidy instantly changes the stance of the bike. It's also a factory fit, no wires to cut or connectors to crimp. Tailor made for a Speedmaster 1200.
Polished, black and textured black are the finishes of the housing. It offers the choice of 3 LED plug and play lamps. License plate illumination is integral which eliminates the elaborate stock set up.
3 kits are available for use with stock signals, signals of your choice or signals provided.
1/ Tail Tidy with license plate lift bracket. This kit comes with a license plate re positioning mount and option of front and rear signals, or just rear. The signals and tail light require no connectors to be fitted or wires shortened. They are ready to go. It does require the use of a hacksaw or cut off disk to remove stock license plate set up.
Frightened yet ?? Don't worry, you are cutting a $14 part that is stocked by all Triumph dealers. Easily cut (plastic) and easily obtainable. (Because one day, you are going to put that contraption back on).
Once removed the license plate bracket supplied with kit will replace it. Positioning license plate in a practical spot under the tail light. A seamless fitting kit, as factory.
2/ Tail Tidy kit. This kit incorporates the stock license plate set up and gives options of plug/play turn signals and tail light. https://www.maundspeed.com/product-page/speedmaster-tail-tidy
3/ Tail Tidy with license plate lift option. No Signals. This kit offers the tail light with option of license lift bracket. No signals come with this kit. Supply your own or use stock signals. https://www.maundspeed.com/product-page/speedmaster-tail-tidy-license-plate-bracket-no-signals


Fitting Instructions.
1/ Directly beneath the tail light assembly, on the underside of fender, 3 Torque head screws need to be undone with T30 driver. This will free the light assembly from fender. Remembering the only thing connecting the assembly is a few wires. Place a rag over fender to protect paint and turn assembly belly up. Firstly disconnect 3 wires to the tail light. Once that is free, turn signals and license plate light connectors can be unplugged. The complete assembly can then be removed.
2/ On a bench the assembly is easily dismantled taking note of wire routing. Undo 3 screws securing light with 5mm Allen wrench. Remove screws and ferules .
Remove 2 Allen screws inboard of where signals connect. 2 screws will also need to be removed on the extension for license plate.


The assembly basically consists of an inner and outer molding. The only thing now, holding the parts together, are the 3 rubber grommets the ferules came out of. With your thumb or a screw driver ease the grommet flange through the hole. The inner and outer are now separate.
3/ The inner piece "Triumph part # T2702356 Hanger lower reg. plate" will need to be cut. Don't worry, it is a $14 part easily available at any Triumph dealer. It is also easily cut with a hack saw or a cut off disc.


4/ Removal and replacement of signals require use of 5mm Allen key. The assembly can now be reassembled. Inserting the grommets is easier with some spit or Vaseline to lubricate.


5/ Tail lamp is plug play. Please view below for plug play turn signal wire connections. It is easy.
Turn Signals
BLACK.........POSITIVE +
BLACK/WHITE .......GROUND - ............Connect to BLACK harness wire
Triumph made signals
BLACK............GROUND - .................Connect to BLACK harness wire
WHITE ...........POSITIVE +
Troubleshooting Tip
Once front and rear signals are installed and you find they are not flashing.
1/ You are absolutely sure they are connected as above
2/ Adjust the flash rate settings to suit the power consumption of the signals. See your owner's manual or Youtube for video.
Front Signals
Front Signal connectors are located behind the head of the frame. Remove the 2 bolts securing the gas tank, located at the rear underside. Gently lift the rear end of the tank and ease backward 3 or 4 inches to access the connectors. This is best done when the tank is not holding much fuel.


Comments